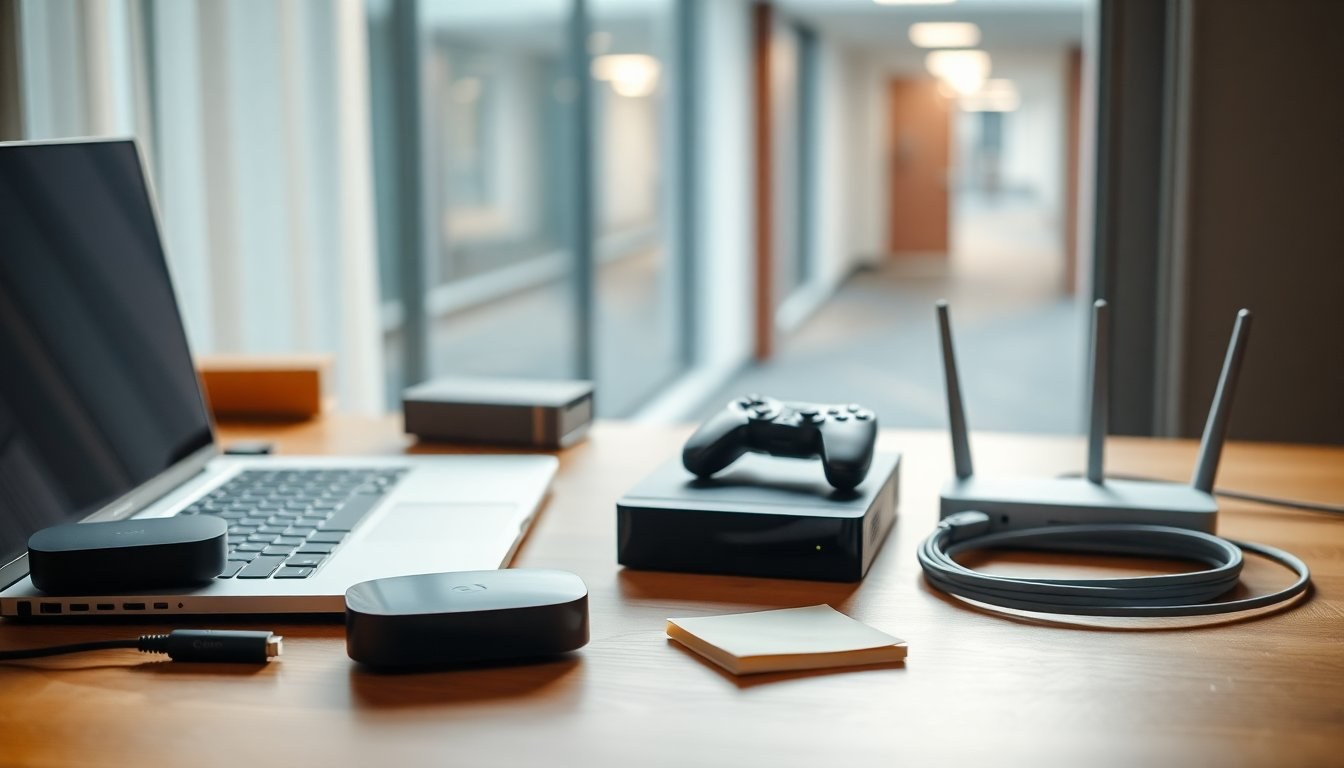
The university maintains a simple workflow for bringing personal streaming devices, gaming consoles, smart TVs and networked printers onto its campus networks. This guide walks you through the process using the UB My Devices Portal and explains how to locate the correct MAC address, disable device privacy features when required, and grant others access. Please note the procedure and portal are current as of Last Updated: November 13, 2026.
Before you begin, be sure you have a computer or phone to perform the registration steps; do not attempt to register from the device you plan to connect. You will need your UBITName and password, the device’s real MAC address (not the randomized MAC address), and, if using a wired connection, an appropriate Ethernet cable (cat-5, 5e, 6 or 6e).
Register the device in the My Devices Portal
Start by connecting a separate computer or phone to either eduroam or ResNet. Open a browser and go to http://connect.buffalo.edu, then choose Register a Device. Sign in with your UBITName and password. The portal will prompt you to provide a display name, which should help you recognize the unit later (for example, “Jane Doe’s Chromecast”), and the device’s MAC address. Many devices print the MAC address on packaging or list it inside Settings; some Apple devices label it as the Ethernet ID (use for ResNet) or Wireless ID (use for Wi-Fi).
On newer hardware, manufacturers enable a privacy feature that randomizes the device’s hardware address. Turn off the Private Wi-Fi Address or Random MAC Address option in your device settings so the portal can register the true MAC address. For Apple TV, Chromecast and networked printers, also toggle Enable AirGroup in the registration form if you want device discovery and sharing features to work correctly. Once all fields are complete, click Create Device to finalize the registration.
Connect the device to the network
After your device appears in the portal as registered, connect it using one of two supported methods. For wireless, choose the UB_Devices Wi‑Fi network and enter the preshared key goubbulls. For wired connections in residence halls, plug the device into one of the four ResNet Ethernet ports and use the same preshared key when prompted. Remember that a compatible Ethernet cable (cat-5, 5e, 6 or 6e) is required for a physical connection.
Share, edit and remove registered devices
The portal also lets you give access to other UB community members or tidy up registrations. Return to the UB My Devices Portal, sign in, and go to Manage and Create Devices to see a list of items you have registered. Select any device to change its details or remove it entirely from the system.
Share a device with other UBITNames
To allow colleagues, roommates or guests to use a shared resource (for example, a printer or Apple TV), select the device and click Edit. Check Enable AirGroup if applicable, then add the other users’ UBITNames separated by commas in the sharing field and click Update Device. Those names will be permitted to discover and access the registered device without creating a new registration.
Edit or delete a registration
If you need to correct the MAC address, rename the device, or remove it from your account, choose Edit to modify fields or Delete to unregister the device entirely. These actions must be performed from a computer or phone already allowed on ResNet or eduroam so the portal can verify your identity.
Troubleshooting and common reminders
If a device won’t join the network, confirm you registered it in the portal before attempting the connection; registering from the device itself often fails. Re-check that you used the device’s true MAC address rather than a randomized MAC address, and verify that any device-level privacy toggles are disabled. For wired setups, ensure the Ethernet cable meets the required standard and that the correct port is in use. If these steps don’t resolve the issue, contact campus IT support for further assistance.


